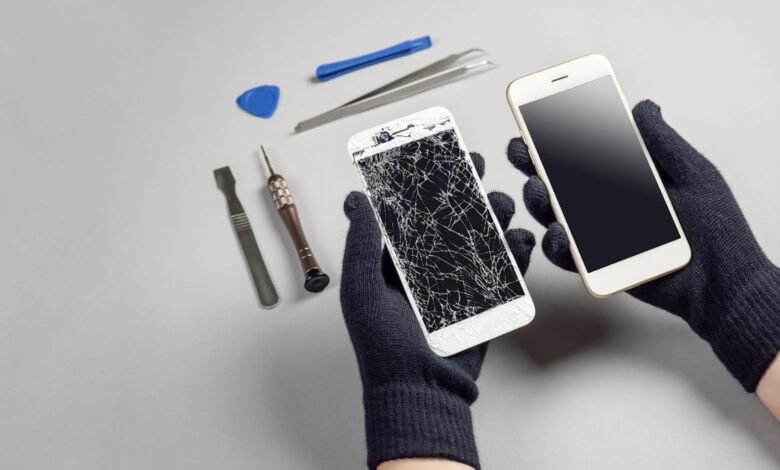
There are times when you want to crack open an old phone or tablet. Before you go on gorilla on it with the screwdriver, let me introduce you to the Spudger. It’s a lifesaver when looking to safely disassemble electronics without causing unnecessary damage. Walk with me to learn how to use this handy tool for device disassembly.
What Is a Spudger?
This handy tool is designed for prying, scraping, and/or pushing. It’s often used in electronics repair to separate pressure-fit plastic components without causing damage. You can also use the Spudger to separate delegate parts without scratching or breaking anything.
The tool is made of non-conductive materials like plastic, nylon, or fiberglass, which makes it safe for use around sensitive electronic parts. Use it to replace smartphone screens or batteries as it helps avoid scratches and short circuits that metal tools might cause.

See also: The Importance of Colour Fastness Testers in Textile Industry
Why Use It for Device Disassembly?
Using a Spudger is likely safer than using metal tools such as a screwdriver or knife. It’s perfect for lifting cables, prying open castings, and even scrapping off adhesives, so you will keep the device components intact. This is better than using metal tools that can scratch or dent plastic parts, making reassembly difficult.
The Spudger prevents short circuits, especially if the device is still powered, which reduces the risk of damaging components or causing injury. You cannot say the same when using the metal tool as it can cause short circuits and potential damage to internal components.
All the evidence leans towards the Spudger being a must-have if you are tinkering with gadgets. It offers a gentle and effective way to disassemble devices. This tool is more durable and cost-effective, making it an accessible choice for DIY enthusiasts. Anyone who wants to repair a device at home can use this tool for safety and effectiveness.
How To Use the Device Safely
There are a few steps you should follow to avoid damaging the device or harming yourself. Using this tool is all about finesse. You don’t want to force anything.
The first step is to ensure the device is turned off and unplugged to avoid electrical hazards. Even a small amount of power can lead to short circuits or shocks, especially with sensitive electronics.
Now identify where the parts are connected, often along edges or at a visible clip. So, first, identify the seams or openings where the devices are held together. You can consider using a repair guide for your specific device. It’s always good to check out online resources and find a device-specific guide.
To use a Spudger, gently insert the tool between the two parts and apply even pressure to separate them, being patient and not forcing it if it resists. The idea is to gently insert the tool into those gaps and start wiggling it around a bit to create some space. If it’s stuck, check for screws or other fasteners and remove them first. If you still meet resistance, do not push harder. Instead, try moving to a different spot or using a different type of Spudger tip, as they come in all shapes and sizes.
Remember, patience is key here. It’s better to take your time and do it right than to rush and end up with a broken screen or a mangled case. Always start from a corner or edge, working slowly around the device. Also, keep the tool clean to avoid scratches. If you are inexperienced, start by practicing on an old device to get comfortable with the tool.
Bottom Line
Next time your electronic devices need some DIY repair, you know where to look. With little practice, you will be assembling electronics like a pro in no time. The idea is to take it slow, be gentle, and look for tutorials online if you get stuck. Follow the steps and tips outlined before you tackle your next repair project. You can reduce the e-waste and save money in the process.